Yes…
… well…
YESSS finally it works!
BUT! IT’S VERY BUGGY!
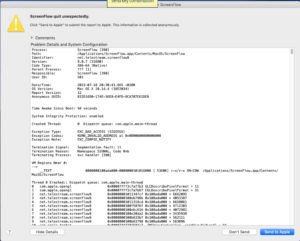
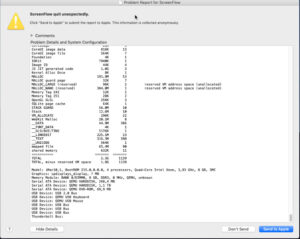
programs crash now and then… so it’s not “production” ready.
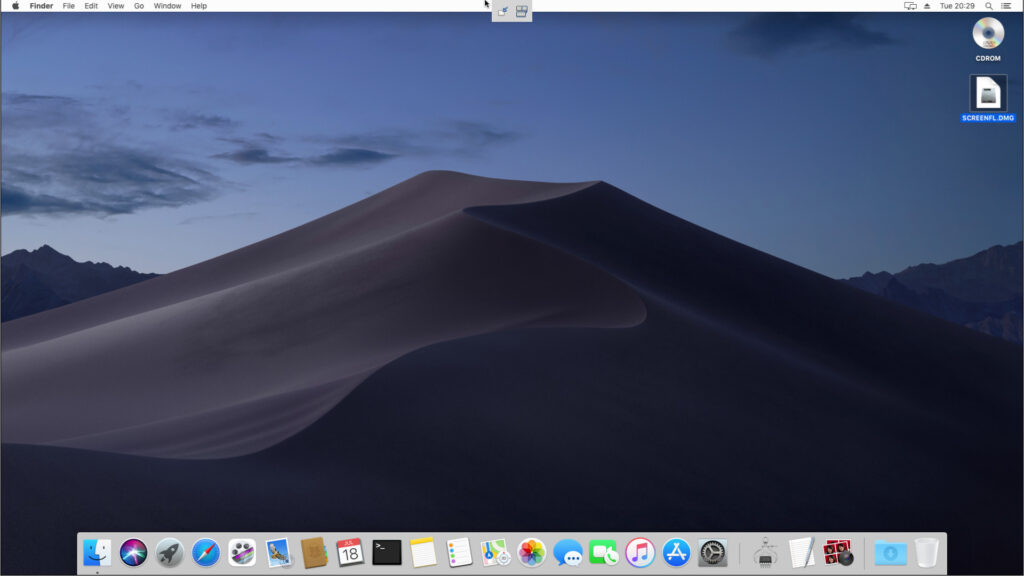
OSX (10.14 aka Mojave) running as KVM qmeu VirtualMachine on AMD Ryzen in 1920×1080 resolution Screenshot at 2023-07
… the foxlet approach worked 😀 (also got stuck in the last minute of setup of mojave… but after a reset, was able to finish install and boot OSX Mojave 😀
(scroll down to “does foxlet‘s macOS-Simple-KVM approach work?”)
very promising USB-pass-through + sound JUST WORK BUT…
also the performance is okay 😀 https://browser.geekbench.com/v5/cpu/21470564
(sometimes it claims to be a core 2 duo, sometimes a xeon)
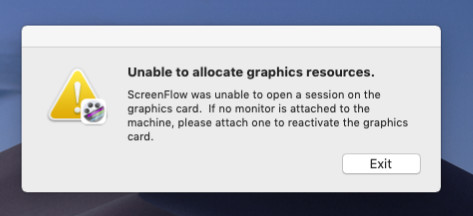
… what does not “just work” is the (emulated) GPU part…
maybe someone can fix this problem WITHOUT having to throw a dedicated GPU at it? 😀
all of those SHOULD work 😀
Make sure that your graphics card works with Mojave
Next, check to see if the graphics card in your Mac Pro is compatible. You can use System Information to find out which graphics card your Mac has:
- Press and hold the Option key while choosing Apple () menu > System Information.
- In the sidebar, select Graphics/Displays. If your graphics card is compatible, you see “Supported” next to the Metal entry. You can also note the name of your graphics card and see if it’s in the list below.
These specific third-party graphics cards are Metal-capable and compatible with macOS Mojave on Mac Pro (Mid 2010) and Mac Pro (Mid 2012):
- MSI Gaming Radeon RX 560 128-bit 4GB GDRR5
- SAPPHIRE Radeon PULSE RX 580 8GB GDDR5
- SAPPHIRE Radeon HD 7950 Mac Edition
- NVIDIA Quadro K5000 for Mac
- NVIDIA GeForce GTX 680 Mac Edition
Some other third-party graphics cards* based on the following AMD GPU families might also be compatible with macOS Mojave on Mac Pro (Mid 2010) and Mac Pro (Mid 2012):
- AMD Radeon RX 560
- AMD Radeon RX 570
- AMD Radeon RX 580
- AMD Radeon Pro WX 7100
- AMD Radeon RX Vega 56
- AMD Radeon RX Vega 64
- AMD Radeon Pro WX 9100
- AMD Radeon Frontier Edition
(src)
kholia approach failed
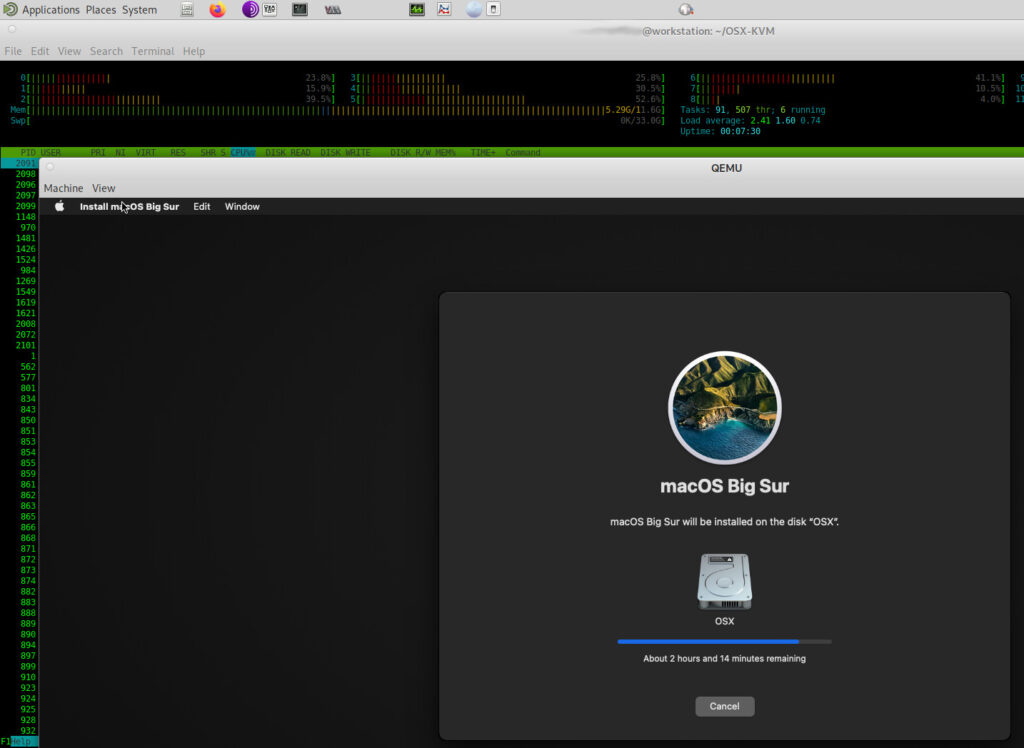
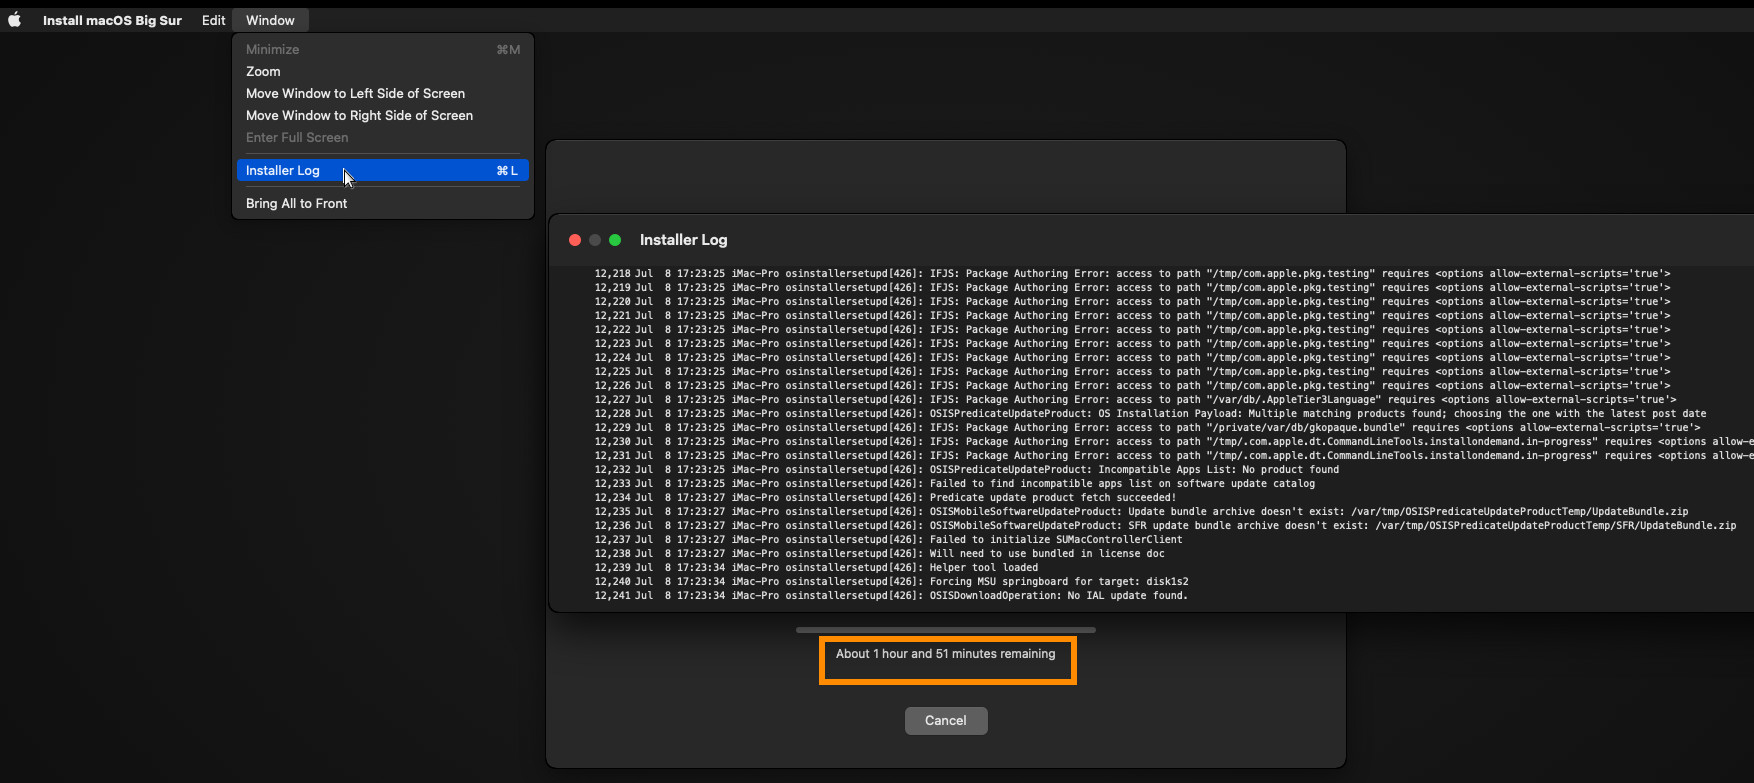
The howto of kholia approach did not succeed (so no luck there… it is stuck somewhere in the setup process right now it’s kind of stuck at “1h and 51min” for no apparent reason… X-D)
(always open the Installer Log to see the massive amounts of Errors OSX CAN produce during setup X-D)
the soft- and hardware-requirements
it is said that all Xeon and Ryzen should be fine to run this.
hostnamectl; # tested with
  Operating System: Debian GNU/Linux 11 (bullseye)
            Kernel: Linux 5.10.0-23-amd64
      Architecture: x86-64

lscpu; # on this hardware
Architecture:                    x86_64
CPU op-mode(s):                  32-bit, 64-bit
Byte Order:                      Little Endian
Address sizes:                   48 bits physical, 48 bits virtual
CPU(s):                          12
On-line CPU(s) list:             0-11
Thread(s) per core:              2
Core(s) per socket:              6
Socket(s):                       1
NUMA node(s):                    1
Vendor ID:                       AuthenticAMD
CPU family:                      25
Model:                           80
Model name:                      AMD Ryzen 5 5600G with Radeon Graphics
-
A modern Linux distribution. E.g. Ubuntu 22.04 LTS 64-bit or later (check)
-
QEMU >= 6.2.0 (nope for Debian 11) (check for Debian 12)
-
A CPU with Intel VT-x / AMD SVM support is required
-
LC_ALL=C lscpu | grep Virtualization # (check)
Virtualization: AMD-V
grep -e vmx -e svm /proc/cpuinfo # (check)
-
A CPU with SSE4.1 support is required for >= macOS Sierra
-
grep -e sse4_1 /proc/cpuinfo # (check)
-
-
A CPU with AVX2 support is required for >= macOS Mojave (check)
-
grep -e avx2 /proc/cpuinfo # (check)
-
might be that Debian 11 comes not with the latest qemu version but with:
qemu-system-x86_64 --version
QEMU emulator version 5.2.0 (Debian 1:5.2+dfsg-11+deb11u2)
Copyright (c) 2003-2020 Fabrice Bellard and the QEMU Project developers
this can be fixed by either compiling qemu from src (UNTESTED!) or upgrading to Debian 12 but be careful! X-D
so off the user goes upgrading to Debian 12 X-D <- imho tecmint.com highly respected GNU Linux blog, but this tutorial imho not accurate anymore?
as the WORST-CASE-UPGRADE-SCENARIO MIGHT HAPPEN: UNABLE TO DECRYPT THE ROOT HARDDISK AFTER UPGRADE FROM DEBIAN 11 to 12! 🙁 (PASSWORD IS 100% CORRECT)
the fix to this is: reboot (Ctrl+Alt+Del) and in grub menu go to “Advanced” and select previous kernel version (Debian (smartly) keeps always the last “known-to-work” kernel after upgrade of kernel)
How to upgrade Debian 11 to 12
WARNING! MAJOR-RELEASE-UPGRADES ARE ALWAYS RISKIER THAN RE-INSTALL FROM SCRATCH! (might fail!)
NEVER UPGRADE ON CRITICAL SYSTEMS FIRST! ALWAYS TEST UPDATE-UPGRADE PROCEDURE ON NON-CRITICAL (IF FAILS OR DATA IS 100% LOST NO PROBLEM) SYSTEMS!
# become root
su root
# create upgrade script

vim /scripts/update.sh # fill with this content
#!/bin/bash

echo "=== attempting automatic daily update on $(date '+%Y-%m-%d-%H:%M:%S') ===" | tee -a /scripts/update.sh.log

apt update 2>&1 | tee -a /scripts/update.sh.log
apt -y upgrade 2>&1 | tee -a /scripts/update.sh.log

echo "=== automatically removing un-needed packages (and old kernels) ==="
# keeping too many old kernel versions might fill up boot partition
apt -y autoremove | tee -a /scripts/update.sh.log

echo "=== fine ===" | tee -a /scripts/update.sh.log
echo "" | tee -a /scripts/update.sh.log

# mark runnable
chmod +x /scripts/*.sh

# run it to get the system to latest packages of this release (11)
/scripts/update.sh

# now let's start the major-release-upgrade
# backup old sources.list
cp -rv /etc/apt/sources.list /etc/apt/sources.list.backup
# checkout what's in it
vim /etc/apt/sources.list
# search & replace all bullseye with bookworm
sed -i "s/bullseye/bookworm/g" /etc/apt/sources.list
apt update
apt install zstd
apt upgrade --without-new-pkgs
apt full-upgrade
systemctl reboot
now the major-fuba “UNABLE TO DECRYPT THE ROOT HARDDISK AFTER UPGRADING FROM DEBIAN 11 to 12! 🙁 (PASSWORD IS 100% CORRECT)” plays out, to fix to this: reboot (Ctrl+Alt+Del) and in grub menu go to “Advanced” and select previous kernel version (Debian (smartly) keeps always the last “known-to-work” kernel after upgrade of kernel)
# after back in the system with a working kernel version uname -a Linux workstation 5.10.0-21-amd64 #1 SMP Debian 5.10.162-1 (2023-01-21) x86_64 GNU/Linux # realize that the upgrade was at least partly succesfull lsb_release -d No LSB modules are available. Description: Debian GNU/Linux 12 (bookworm) # run the update script again to complete the upgrade /scripts/update.sh # as there were changes by the developer # it might be wise to use the developer's version of the config file # (and re-apply the user's changes afterwards)# reboot again systemctl reboot
realize: HURRAY! 😀 the user got a newer version of qemu 😀
qemu-system-x86_64 --version
QEMU emulator version 7.2.2 (Debian 1:7.2+dfsg-7)
Copyright (c) 2003-2022 Fabrice Bellard and the QEMU Project developers

# re-apply changes to grub config
vim /etc/default/grub
# make changes active
update-grub2
still no luck with the osx setup X-D
does foxlet‘s macOS-Simple-KVM approach work?
yes! 😀
hostnamectl; # tested on
Operating System: Debian GNU/Linux 12 (bookworm)
          Kernel: Linux 6.1.0-10-amd64
su - root
/scripts/update.sh; # update to latest packages (see script above)
# install python pip environment
apt install qemu-system qemu-utils python3 python3-pip
# fix_error: ModuleNotFoundError: No module named 'click'
find / -iname EXTERNALLY-MANAGED
rm -rf /usr/lib/python3.11/EXTERNALLY-MANAGED
--break-system-packages
mkdir  ~/.config/pip/
echo "[global]" >> ~/.config/pip/pip.conf
echo "break-system-packages = true" >> ~/.config/pip/pip.conf

# try again
pip3 install Click

# it should now "click" and show
Collecting Click
  Downloading click-8.1.5-py3-none-any.whl (98 kB)
     ━━━━━━━━━━━━━━━━━━━━━━━━━━━━━━━━━━━━━━━━ 98.1/98.1 kB 701.7 kB/s eta 0:00:00
Installing collected packages: Click
Successfully installed Click-8.1.5
WARNING: Running pip as the 'root' user can result in broken permissions and conflicting behaviour with the system package manager. It is recommended to use a virtual environment instead: https://pip.pypa.io/warnings/venv

# become non-root user (Ctrl+D)
python3 --version
Python 3.11.2

# get the software
mkdir /home/user/software
cd /home/user/software
git clone https://github.com/foxlet/macOS-Simple-KVM.git
cd macOS-Simple-KVM

# run it :D
./jumpstart.sh --mojave


# it will download the OSX.setup.iso.dmg to
# /home/user/software/osx/macOS-Simple-KVM/tools/FetchMacOS/BaseSystem/BaseSystem.dmg

# create a virtual harddisk
qemu-img create -f qcow2 osx.mojave.kvm.qcow2 1024G

# modify start script
echo " -drive id=SystemDisk,if=none,file=osx.mojave.kvm.qcow2 \ " >> ./basic.sh
echo " -device ide-hd,bus=sata.4,drive=SystemDisk" >> ./basic.sh

# open, check it looks like this
cat ./basic.sh
#!/bin/bash

OSK="ourhardworkbythesewordsguardedpleasedontsteal(c)AppleComputerInc"
VMDIR=$PWD
OVMF=$VMDIR/firmware
#export QEMU_AUDIO_DRV=pa
#QEMU_AUDIO_DRV=pa

qemu-system-x86_64 \
    -enable-kvm \
    -m 2G \
    -machine q35,accel=kvm \
    -smp 4,cores=2 \
    -cpu Penryn,vendor=GenuineIntel,kvm=on,+sse3,+sse4.2,+aes,+xsave,+avx,+xsaveopt,+xsavec,+xgetbv1,+avx2,+bmi2,+smep,+bmi1,+fma,+movbe,+invtsc \
    -device isa-applesmc,osk="$OSK" \
    -smbios type=2 \
    -drive if=pflash,format=raw,readonly,file="$OVMF/OVMF_CODE.fd" \
    -drive if=pflash,format=raw,file="$OVMF/OVMF_VARS-1024x768.fd" \
    -vga qxl \
    -device ich9-intel-hda -device hda-output \
    -usb -device usb-kbd -device usb-mouse \
    -netdev user,id=net0 \
    -device e1000-82545em,netdev=net0,id=net0,mac=52:54:00:c9:18:27 \
    -device ich9-ahci,id=sata \
    -drive id=ESP,if=none,format=qcow2,file=ESP.qcow2 \
    -device ide-hd,bus=sata.2,drive=ESP \
    -drive id=InstallMedia,format=raw,if=none,file=BaseSystem.img \
    -device ide-hd,bus=sata.3,drive=InstallMedia \
    -drive id=SystemDisk,if=none,file=osx.mojave.kvm.qcow2 \
    -device ide-hd,bus=sata.4,drive=SystemDisk

# start
./basic.sh
it was stuck at “one minute”…
then just reset and booted “OSX from OSX”
it actually works 😀
congratulationz all involved! 😀 celebrate! do the happy-dance! 😀
(no it’s not optinal and don’t stop before the music stops X-D)
BUT: the major hacking just has begun 😀
basics:
- to leave (release mouse cursor) the vm’s window hit Ctrl+Alt (at the same time)
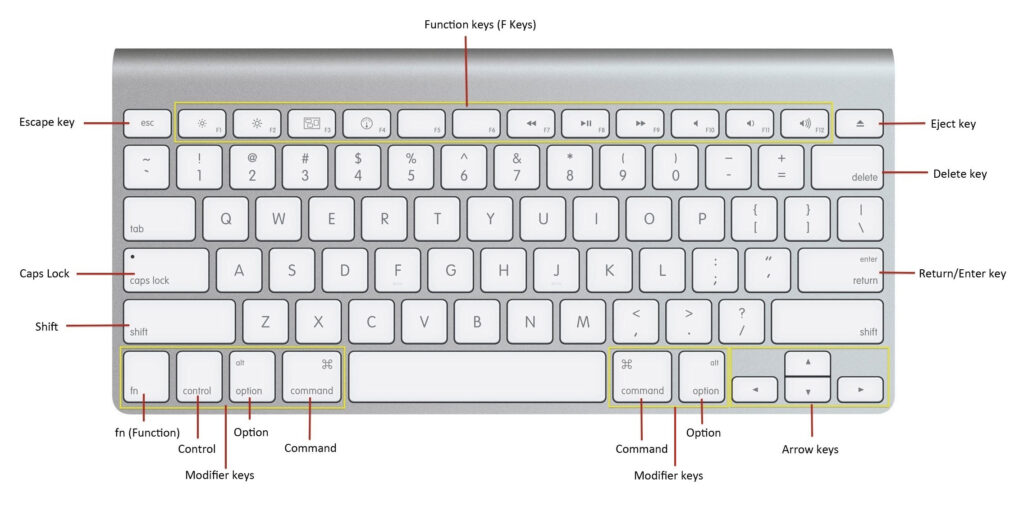
- switching between programs under OSX is done via Win+TAB (Lin+TAB of course would be correct to over-label it)
- close a file or program Lin+W
- copy (Lin+C) paste (Lin+V)
what works:
- after a few boots the networking (internet) worked 😀
- sound output works! 😀
- usb-redirect works! 😀
- mounting iso works 😀
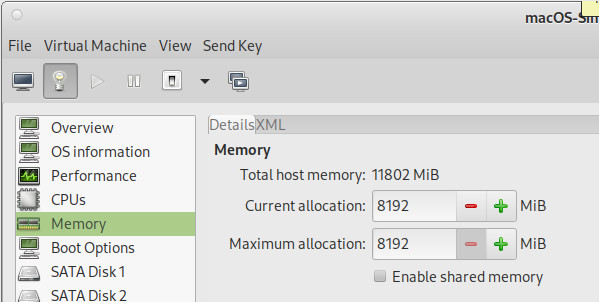
definitely give it more RAM, 4GB better 8GB:
changing screen resolution requires further hacking :
two things:
within OSX mount the EFI and open the config file and modify resolution there:
shutdown the vm
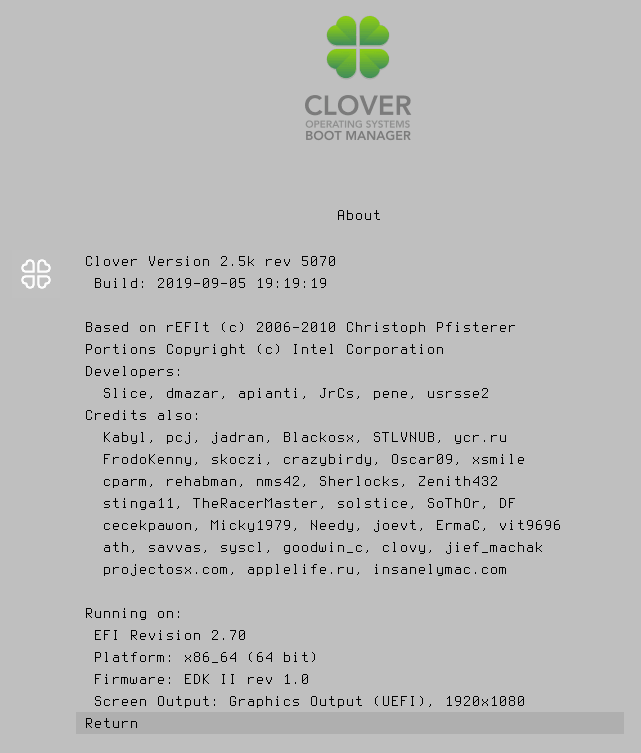
start it via ./basic.sh script and immediately hit ESC, ESC, ESC… like a crazy user 😀
should bring up that excellent Clover BIOS settings screen 😀
if it looks weird, try rebooting and resetting several times… it will eventually work 😀
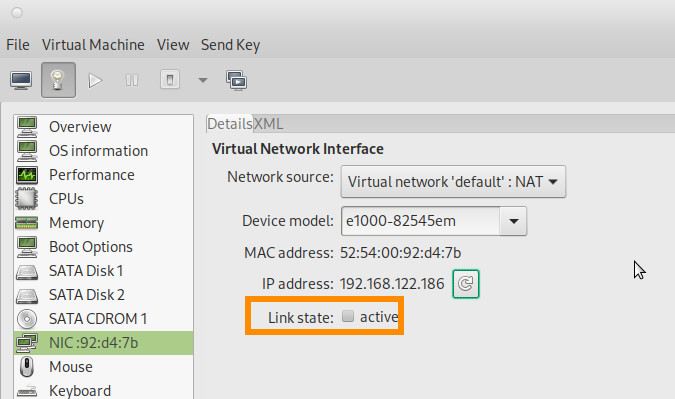
if internet connection is not what the user wants: disconnect the virtual cable
but file-exchange can be done either via geniso or via REAL PHYSICAL usb stick 😀 (use usb-redirect)
optional but recommended:
because it allows to use the excellent virt-manager usb-redirect function 😀 (and pass-through usb devices straight to OSX)
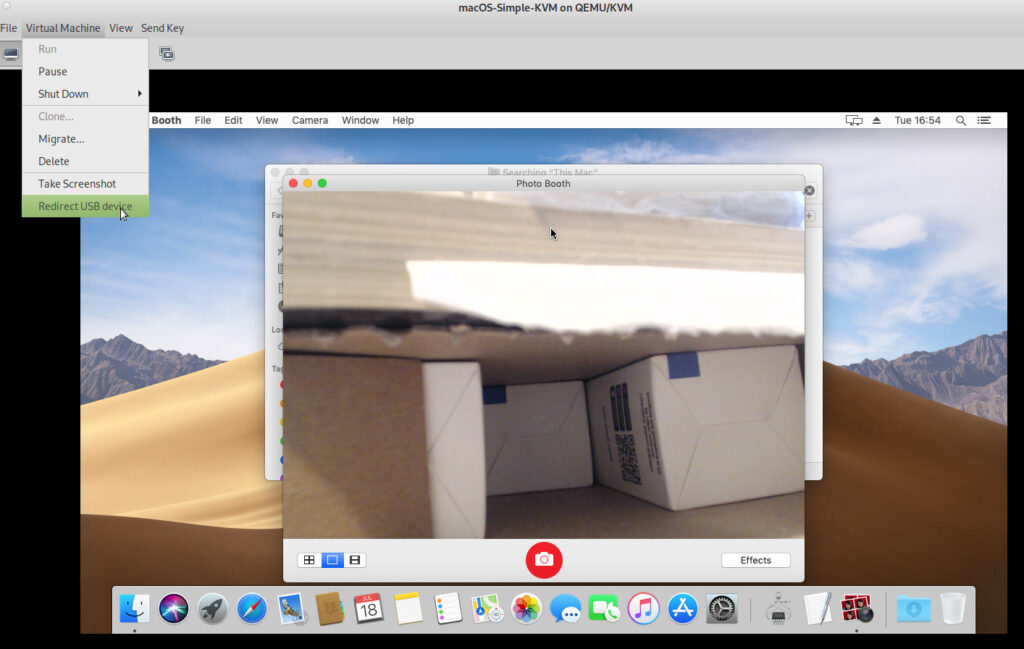
here a logitech C920 usb webcam was redirected which worked flawless 😀
in order for virt-manager to “see” the vm run (via sudo or as root):
./make.sh --add
BUT that’s not enough X-D
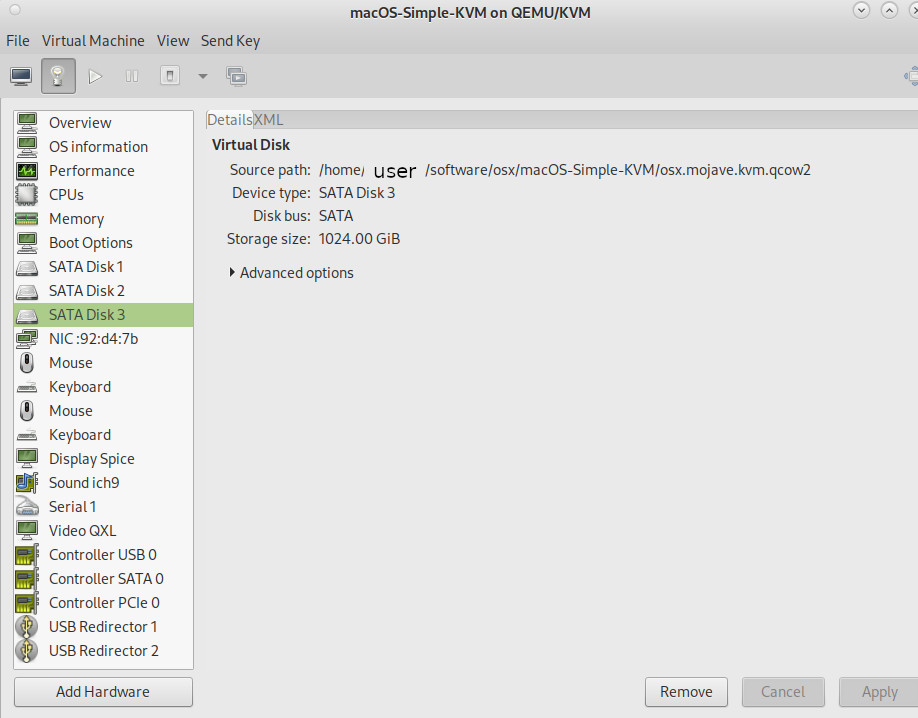
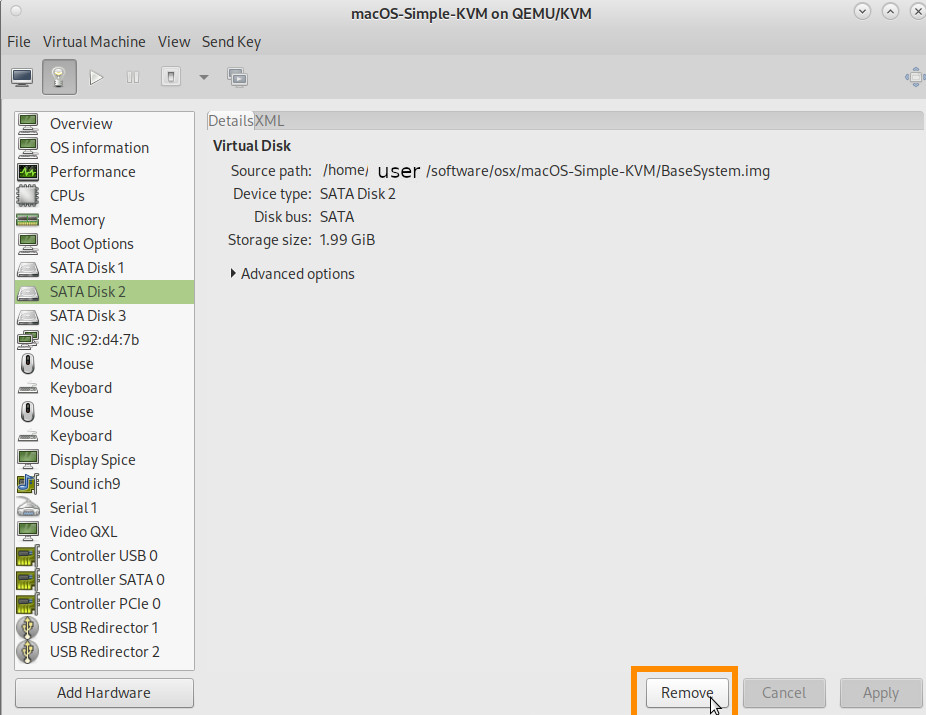
the user needs to manually add the previously created /home/user/software/osx/macOS-Simple-KVM/osx.mojave.kvm.qcow2
to the vm.
while at the same time, remove the BaseImage(Install-Setup.iso).img as it is not needed anymore
snapshots?
Unfortunately virt-manager’s snapshots capabilities are pretty limited to qcow2 disk files only.
“kvm snapshot Error creating snapshot: Operation not supported: internal snapshots of a VM with pflash based firmware are not supported”
so the only option is to clone the whole vm, and if things go wrong, restart from there.
su - root
virsh list --all
 Id   Name                        State
--------------------------------------------
 -    macOS-Simple-KVM            shut off
what else?
networking:
To fine-tune the system and improve performance, look in the docs folder for more information on adding memory, setting up bridged networking, adding passthrough hardware (for GPUs), tweaking screen resolution, and enabling sound features.
headless?
If the user is using cloud-based/headless system, you can use headless.sh to set up a quick VNC instance.
Settings are defined through variables as seen in the following example. VNC will start on port 5900 by default.
HEADLESS=1 MEM=1G CPUS=2 SYSTEM_DISK=MyDisk.qcow2 ./headless.sh
general jamboree:
OSX was actually this user’s first contact with the UNIX world, It was basically the “starter” for entering the UNIX/GNU Linux world 😀 (because under the hood OSX is UNIX, a lot of command line programs (rsync etc) are available for OSX too, but sometimes the syntax is massively different)
Now that Apple has run out of cats to name the releases-alias… they switched to using landscape-names X-D
the pros of running OSX as (KVM) VM would be:
- bigger software support 😀
- there are some very nice and easy video cutting software Screenflow and audio LogicX which in combination with a focus-rite audio2usb interface made a high-quality low-cost audio recording studio 😀
- software that would be neat to be able to run
first the pros: (always says something positive first, it’s important! users disrespecting this are major-fools!)
-
- OSX is UNIX based
- OSX looks great
- there is high quality software for this OS
now the cons: Ever since having switched over to GNU Linux, OSX actually has become a major pain X-D
- owning an older mac mini AND and iMac this user should be allowed to say this X-D
- one fine day, wanted to reinstall the iMac 2011… and no chance: IT DOES NOT WORK “SEAMLESSLY”… it does not work at all… a shame of Apple software legacy gone bad…
- what has happened?
- the massively praised reinstall-over-internet “online recovery” functionality failed in obscure ways with obscure errors… turns out some certificate has expired within the dmg and the user would now have to manually fix Apple’s software mess…
- software quality seems to have steadily gone down and reached M$ kind of quality (save developers, save on quality tests and let the end-user do all the testing for the company X-D = catastrophic user experience = #argh = never again)
- for some obscure reason OSX NEVER got “maximizing windows” right X-D (it just can NOT do it X-D)
- Shift+2 is SIMPLY NOT THE EASY WAY TO TYPE @ SERIOUSLY X-D
- Aluminum computer cases MIGHT look nice and have some advantages when it comes to EM shielding BUT
- Aluminum production uses-wastes awful lot of energy
- Aluminum is ACTUALLY not meant to come into contact with the human body on a daily basis as it might lead to Alzheimer (congratulationz all involved)
- the innovation of Apple except for CPUs (fastest ARM on EARTH! Respect!), Earbuds (good alternative) and now VR Goggles has steadily decreased
- where is the iCar?
- where is the the iRobot? (#argh X-D ok maybe not, as an evil Apple CEO might use this robot army to overturn the gov)
- where is the the iRocket that will take us to Moon, Mars and beyond?
- (Elon had LESS money and now got ALL 3 OF EM! X-D)
creditz:
Links:
https://github.com/sickcodes/osx-optimizer
https://en.wikipedia.org/wiki/MacOS_version_history
https://www.tonymacx86.com/ <- those are the pros on x86 hackintoshs 😀
“There’s lots of ways to be, as a person. And some people express their deep appreciation in different ways. But one of the ways that I believe people express their appreciation to the rest of humanity is to make something wonderful and put it out there.
And you never meet the people. You never shake their hands. You never hear their story or tell yours. But somehow, in the act of making something with a great deal of care and love, something’s transmitted there. And it’s a way of expressing to the rest of our species our deep appreciation. So we need to be true to who we are and remember what’s really important to us.”
—Steve, 2007 (src: https://book.stevejobsarchive.com/)
liked this article?
- only together we can create a truly free world
- plz support dwaves to keep it up & running!
- (yes the info on the internet is (mostly) free but beer is still not free (still have to work on that))
- really really hate advertisement
- contribute: whenever a solution was found, blog about it for others to find!
- talk about, recommend & link to this blog and articles
- thanks to all who contribute!


